Image
Kraft-Paper Negative-Space Stencil Landmark Contrast Poster
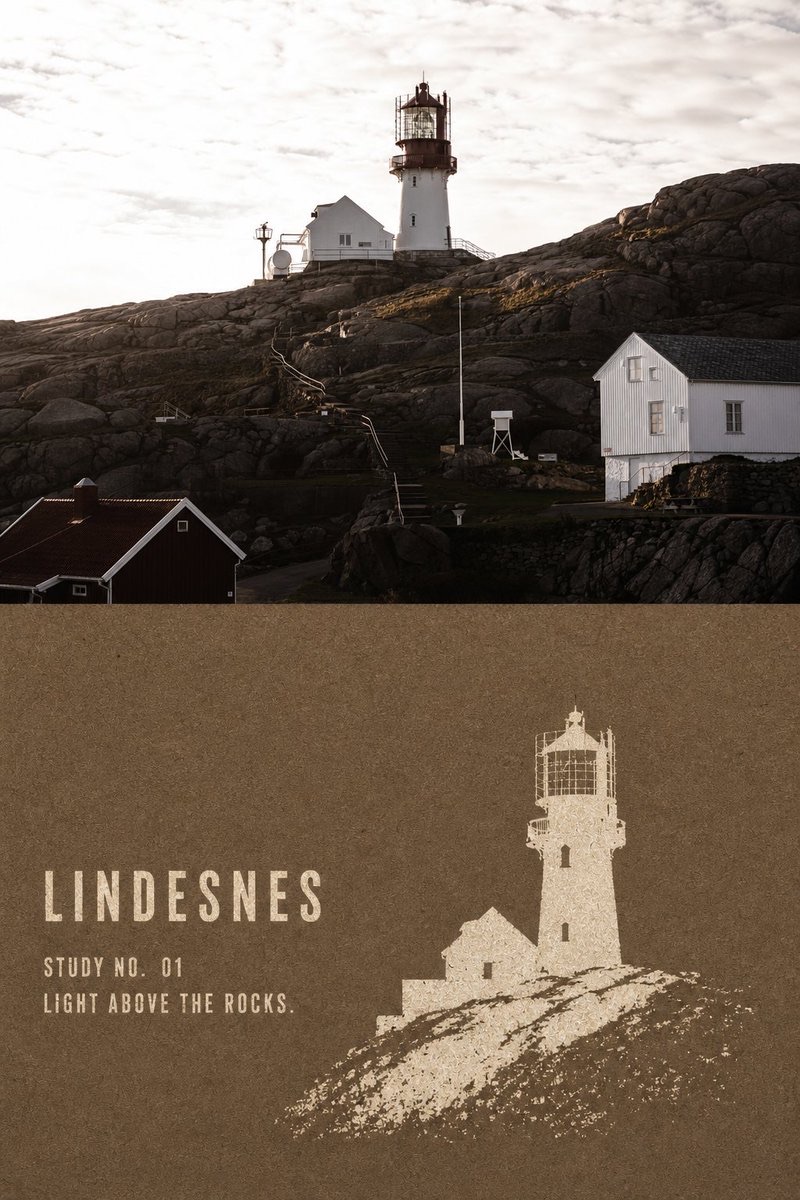
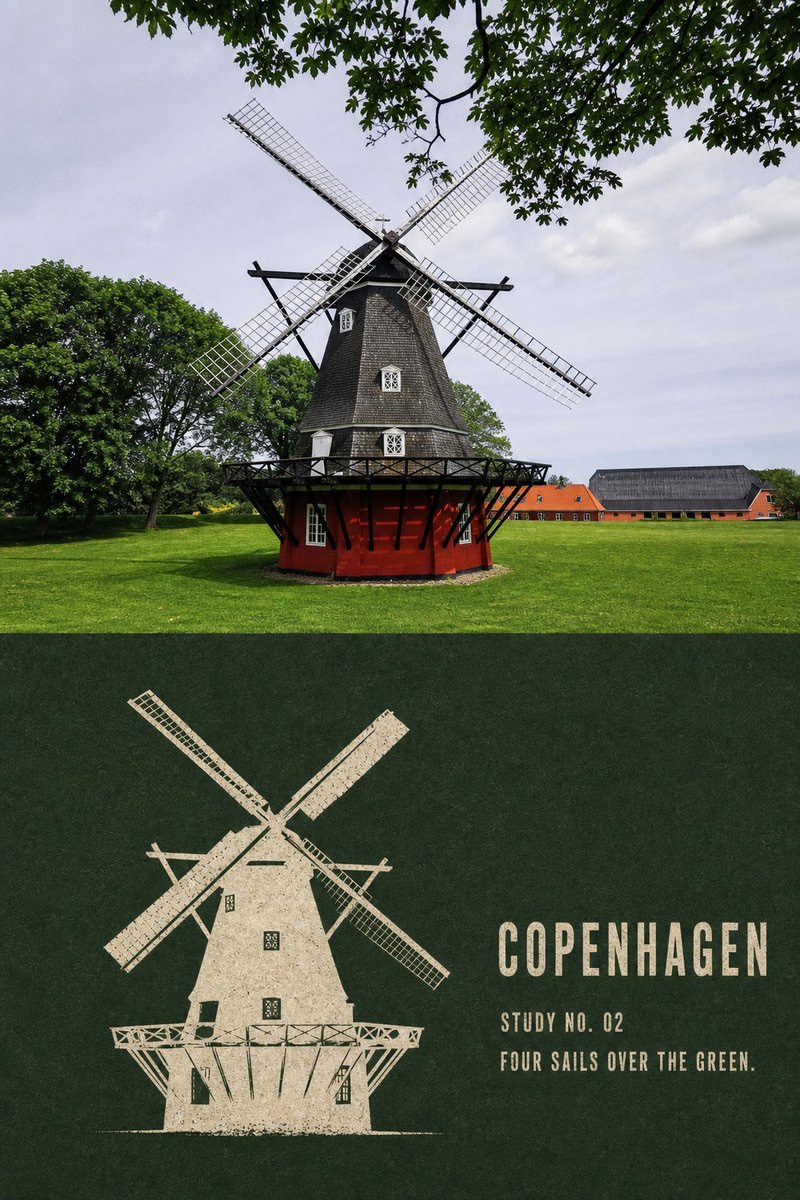
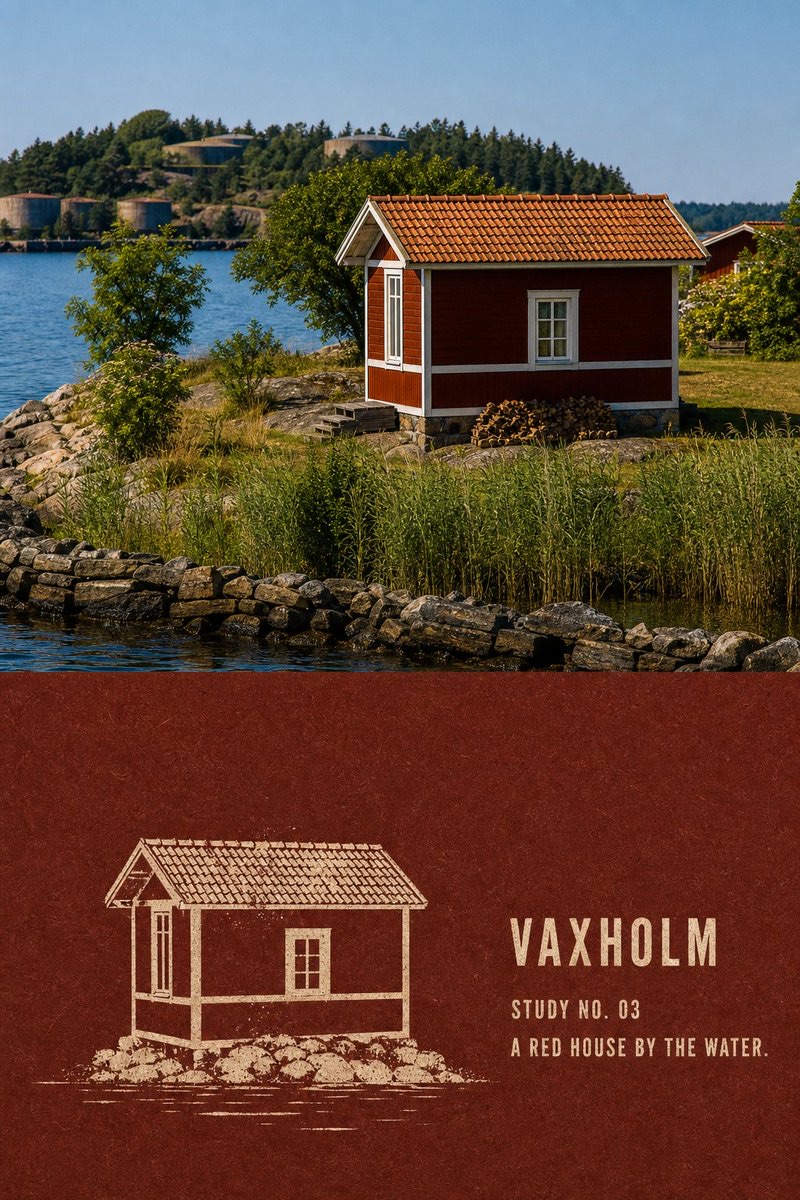
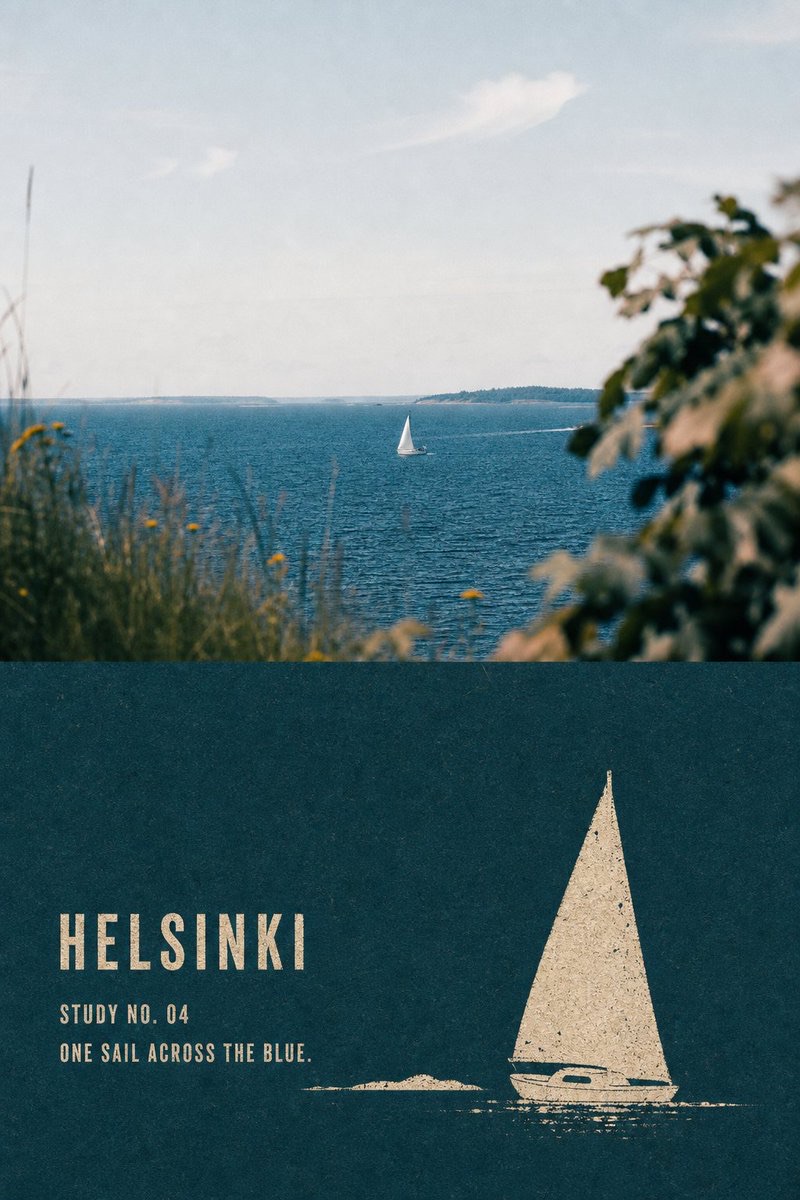
Create a separate 3:4 vertical poster from each travel photo, preserving the high-fidelity original image in the upper half and reinterpreting the landmark below with coarse-fiber paper and a light-colored negative-space stencil print.
 蛋黄堡@Hamburgerai
Prompt
Please turn each travel photo I upload into its own premium contrast poster. Do not combine multiple photos; output each photo separately.

Style name:

KRAFT NEGATIVE-STENCIL LANDMARK|Kraft-Paper Negative-Space Landmark Stencil Print

## Suitable subjects

Suitable for travel landmarks with a clearly defined, single-subject silhouette, such as:

lighthouses, towers, churches, temples, gatehouses, statues, monuments, windmills, solitary boats, pavilions, bridge towers, or buildings with a distinctive outline.

The subject should be clearly separated from the sky, water, a plaza, or a relatively simple environment.

Do not process every photo as a lighthouse, church, or the same kind of tourist icon. Do not add birds, boats, trees, people, railings, or decorative scenery that are absent from the original photo.

## Overall layout

Use a 3:4 vertical top-and-bottom comparison layout:

- Keep approximately 45%–52% as the high-fidelity original photo at the top
- Reinterpret approximately 48%–55% at the bottom as a kraft-paper negative-space stencil print
- Give the two areas a straight, clear, restrained horizontal boundary
- No feathering, blending between the sections, or heavy divider line
- Do not generate a frame, wall, handheld display, or mockup

The finished poster must retain a clearly recognizable original-photo comparison area of substantial size. Do not shrink the original image to a small corner badge, and do not turn the entire poster into a stencil print.

## Original photo at the top

Faithfully preserve the following from the original photo:

- landmark identity
- number of subjects
- subject orientation
- proportions of the building or object
- top, base, and key contours
- positions of doors, windows, and major structures
- viewing angle
- number and positions of people
- spatial relationships among the sky, ground, water, and other elements
- authentic materials, lighting, shadows, and original color mood

Apply only subtle, premium travel-magazine, architectural-publication, or photography-exhibition color grading, and add very fine film grain.

Do not turn the original photo into an illustration; do not move the subject, reshape the building, replace the sky, add or remove people, stretch, mirror, or duplicate the landmark.

## Kraft paper below

The bottom should be one continuous field of coarse-fiber paper.

Choose one dark color for the paper based on the mood of the original photo:

- natural kraft brown
- dark gray-brown
- cool brown
- deep indigo
- ink green
- a single dark color sampled from the original photo's shadows

Show authentic natural paper fibers, tiny paper flecks, slight creases, local color variation, and a matte, rough surface.

The paper may look slightly aged, but must not be heavily scorched, torn, covered in stains, or made to look like a cheap vintage background.

## Negative-space stencil process

Recreate the subject in the photo as a hand-made negative stencil print, coarse-screen print, or old stencil print.

First lay down a complete dark coarse-paper base. Then use only one opaque light-colored ink to stencil the subject out of the paper surface.

The light ink may be:

- warm ivory
- gray-white
- pale sand
- an extremely light corresponding color sampled from the subject in the photo

Restrict the entire reinterpretation to two colors or nearly two colors:

paper background color + light stencil-print ink.

Do not add a third accent color, multicolor overprint, gradients, translucent colors, realistic shadows, or glow effects.

## Semantic reduction

Do not copy the whole scene from the photo.

Keep only:

- the subject's complete outer silhouette
- subject orientation
- top and base shapes
- 2–6 internal openings that establish its identity
- how the subject connects to the ground, shoreline, rocks, or water
- very few additional structures that truly appear in the original photo and help identify the subject

Remove:

- complex window panes
- brick joints and wall textures
- decorative carvings
- dense vegetation
- cloud details
- reflections
- realistic lighting and shadows
- repeated people
- irrelevant surroundings
- photographic noise

The subject must be recognizable at a glance, but its internal details should be reduced to a minimum.

Recognition should come primarily from one continuous area of light-colored negative space, not fine lines, hatching, or the photo's tonal values.

## Composition

Use an impactful, full-bleed secondary composition.

The subject should fill the lower section:

- approximately 55%–85% of its height
- approximately 28%–68% of its width

Center the subject or offset it slightly to match the visual weight of the original photo. The base or part of the outline may extend slightly out of frame.

Do not redraw the subject in two colors at the same scale and with the same complete framing as the upper photo. Enlarge the subject clearly below, remove the background, and change the information density.

Keep a continuous, quiet field of coarse paper around the subject.

At most, retain a minimal, broken negative-space line for the ground, shoreline, rock, or water. Do not create a complete landscape background.

## Stencil-print texture

The light-colored subject's outer contours should be solid and clear, with slight paper-fiber roughness from authentic stencil printing.

Allow the light ink to have:

- uneven coverage
- random missing ink
- a few pinholes
- local scraping
- friction wear
- exposed kraft-paper fibers
- slight ink leaks or breaks at stencil edges

These marks must appear naturally, randomly, and locally.

Do not use a uniform grain filter, regular noise, a regular grid, or a photographic threshold effect.

Keep the subject's upper half, top contour, and identity-defining structures relatively intact.

Closer to the bottom of the subject, the ink may become more visibly broken and worn away, gradually consumed by the paper fibers to evoke a fading memory.

Create the fading at the bottom through missing ink, wear, and exposed paper.

Do not use:

- smoky feathered edges
- soft-focus fade
- regular halftone gradients
- pixel dissolution
- rectangular mosaics
- digital airbrush effects

Keep the overall print matte, flat, and almost without thickness.

Do not make it look like paper cutting, a relief, impasto, resin, or a three-dimensional model.

## Text

By default, generate no text so the negative-space subject retains the greatest graphic impact.

If text is truly needed, allow only:

- one reliable, very short place name
- one simple number

Print text in the same light ink, as a small distressed stencil, in an empty area near the edge.

No long paragraphs, author name, signature, account name, brand, logo, URL, QR code, watermark, fake Chinese characters, or garbled text.

## Overall mood

The overall result should resemble an old landmark stencil print, hand-brushed onto coarse kraft paper:

restrained, rough, quiet, isolated, flat, modern, and marked by the authentic imperfections of paper and hand-made stencil printing.

It is neither an ordinary silhouette nor a photo with a two-color filter.

The most important visual mechanism is:

large areas of light-colored negative space
+
very few internal structural openings
+
random missing ink that exposes the paper
+
progressive fragmentation and fading at the bottom

## Mandatory exclusions

Avoid:

ordinary silhouette, vector icon, travel logo, photo threshold filter, automatic tracing, monochrome photo filter, detailed etching, copperplate hatching, dense woodcut lines, halftone gradient, regular noise texture, pixel dissolve, airbrush fade, transparent watercolor, paper relief, paper sculpture, impasto, realistic shadows, plastic 3D, multicolor overprint, complete background coverage, same-crop same-scale redraw, invented landmark, added birds, added trees, added boats, excessive typography, author name, logo, watermark, QR code, gibberish text.

The result is incomplete unless both the original photo and the kraft-paper negative-space reinterpretation are clearly present.
请将我上传的每一张旅行照片分别制作成一张独立的高级对比海报。不要多图拼接,每张照片单独输出。
风格名称:
KRAFT NEGATIVE-STENCIL LANDMARK|牛皮纸负形地标漏印
## 适用对象
适合拥有明确单体轮廓的旅行地标,例如:
灯塔、塔楼、教堂、寺庙、门楼、雕像、纪念碑、风车、孤船、亭子、桥塔或轮廓鲜明的建筑。
主体应与天空、水面、广场或相对简洁的环境形成清楚分离。
不要把所有照片固定处理成灯塔、教堂或同一种旅游图标。不得添加原照片中不存在的飞鸟、船只、树木、人物、栏杆或装饰景观。
## 整体版式
采用3:4竖版上下对比构图:
- 上方约45%—52%保留高保真原始照片
- 下方约48%—55%进行牛皮纸负形漏印转绘
- 两个区域使用笔直、清楚、克制的水平边界
- 不羽化、不相互渗透、不生成粗重分割线
- 不生成相框、墙面、手持展示或Mockup
成品必须保留具有实质面积、清楚可辨的原始照片对比区。不得将原图缩成一个小角标,也不得把整张海报全部做成漏印。
## 上方原始照片
忠实保留原始照片中的:
- 地标身份
- 主体数量
- 主体朝向
- 建筑或物体比例
- 顶部、底座和关键轮廓
- 门窗及主要结构位置
- 观察角度
- 人物数量与位置
- 天空、地面、水面及空间关系
- 真实材质、光影与原有色彩氛围
仅进行轻微高级旅行杂志、建筑出版物或摄影展调色,并加入极薄胶片颗粒。
不得插画化原照片,不得移动主体、重塑建筑、替换天空、增删人物、拉伸、镜像或复制地标。
## 下方牛皮纸
下方是一整面连续的粗纤维纸张空场。
纸底根据原照片气质选择一种暗色:
- 天然牛皮棕
- 深灰褐
- 冷棕色
- 深靛蓝
- 墨绿色
- 从原照片暗部提取的单一深色
表现真实的天然纸纤维、细小纸屑、轻微折痕、局部色差和哑光粗糙表面。
纸张可以略显旧,但不能重度烧焦、破烂、布满污渍或做成廉价复古背景。
## 负形漏印机制
将照片中的主体重新制作成一张手工负形模板漏印、粗网丝印或旧模板印刷。
先铺设完整的深色粗纸底,再只使用一种浅色不透明油墨,将主体像从纸面中“漏印”出来。
浅色油墨可以使用:
- 暖象牙色
- 灰白色
- 浅沙色
- 从照片主体提取的极浅对应色
整张转绘严格限制为两色或近两色:
纸底色+浅色漏印油墨。
不得添加第三种强调色,不得使用多色套印、渐变、半透明颜色、写实阴影或发光效果。
## 语义提炼
不要复制照片的完整场景。
只保留:
- 主体完整外轮廓
- 主体朝向
- 顶部和底座形状
- 决定身份的2—6个内部孔洞
- 主体与地面、岸线、岩石或水面的连接方式
- 原照片中确实存在且有助于辨认的极少附属结构
删除:
- 复杂窗格
- 砖缝和墙面纹理
- 装饰雕刻
- 密集植被
- 云层细节
- 反光
- 写实光影
- 重复人物
- 无关环境
- 摄影噪声
主体必须一眼可辨,但内部信息应被压缩到最低限度。
识别主要来自一整块连续的浅色负形,而不是细线、排线或照片明暗。
## 构图方式
采用满版冲击式二次构图。
主体占下方区域:
- 高度约55%—85%
- 宽度约28%—68%
主体可以居中,也可以根据原照片重心略微偏移。允许底座或局部轮廓轻微出画。
不得按上方照片的相同尺度和完整取景进行双色重画。下方应明显放大主体、删除背景并改变信息密度。
主体四周保留连续、安静的粗纸空场。
环境最多保留一条极简、断续的地面、岸线、岩体或水面负形。不要制作完整风景背景。
## 漏印质感
浅色主体外轮廓应坚实、清楚,同时带有真实模板印刷形成的轻微纸纤维毛边。
油墨内部允许出现:
- 不均匀覆盖
- 随机缺墨
- 少量针孔
- 局部刮落
- 摩擦磨损
- 牛皮纸纤维露底
- 模板边缘的轻微漏墨或断口
这些痕迹必须自然、随机、局部出现。
不能使用均匀颗粒滤镜、规则噪点、规则网格或照片阈值效果。
主体上半部分、顶部轮廓和决定身份的结构应相对完整。
越靠近主体底部,油墨可以越明显地破碎、脱落并逐渐被纸纤维吞没,形成记忆正在消失的感觉。
底部消隐必须由缺墨、磨损和纸底露出形成。
不得使用:
- 烟雾羽化
- 柔焦渐隐
- 规则网点渐变
- 像素消散
- 矩形马赛克
- 数字喷枪效果
印刷整体保持哑光、扁平、近乎没有厚度。
不要制作成纸雕、浮雕、厚涂、树脂或立体模型。
## 文字
默认不生成文字,让负形主体保持最大的图形冲击力。
如果确实需要文字,只允许:
- 一个可靠的极短地点词
- 一个简单编号
文字必须使用同一种浅色油墨,以小面积缺墨漏印的方式放在边缘空白中。
禁止长段落、作者名、签名、账号、品牌、Logo、网址、二维码、水印、假中文或乱码。
## 整体气质
整体应像一张在粗牛皮纸上手工刷制的旧地标模板印刷:
克制、粗粝、安静、孤立、平面、现代,同时具有真实纸张和手工制版留下的不完美。
不是普通剪影,也不是照片套上双色滤镜。
最重要的视觉机制是:
大块浅色负形
+
极少内部结构孔洞
+
随机缺墨露底
+
底部逐渐破碎消隐
## 强制避免
Avoid:
ordinary silhouette, vector icon, travel logo, photo threshold filter, automatic tracing, monochrome photo filter, detailed etching, copperplate hatching, dense woodcut lines, halftone gradient, regular noise texture, pixel dissolve, airbrush fade, transparent watercolor, paper relief, paper sculpture, impasto, realistic shadows, plastic 3D, multicolor overprint, complete background coverage, same-crop same-scale redraw, invented landmark, added birds, added trees, added boats, excessive typography, author name, logo, watermark, QR code, gibberish text.
必须同时出现清楚的原始照片与牛皮纸负形转绘,否则不算完成。
How to use
Usage suggestion: Upload travel photos one at a time, each showing a clearly defined single landmark. Suitable subjects include lighthouses, towers, churches, and monuments; choose the paper background color based on the photo's shadows.
Details
More from 蛋黄堡
-
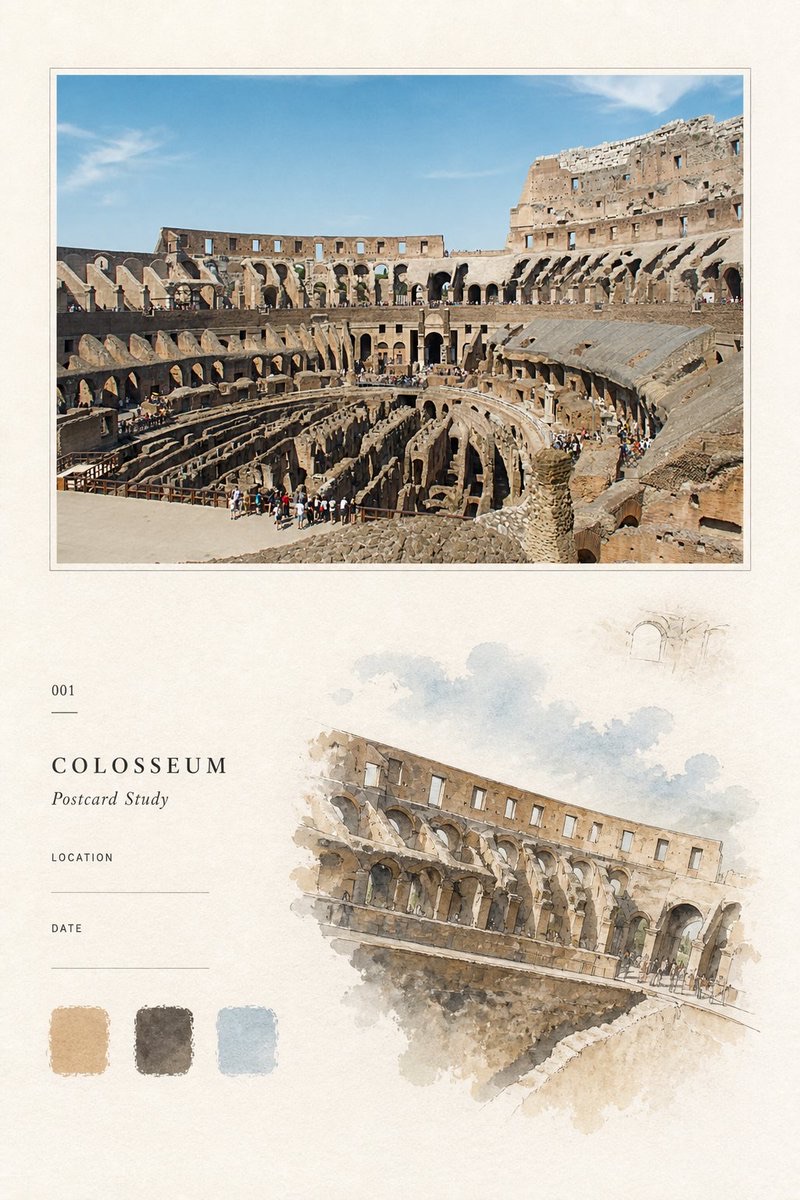
Travel Palette Watercolor Study Poster
-
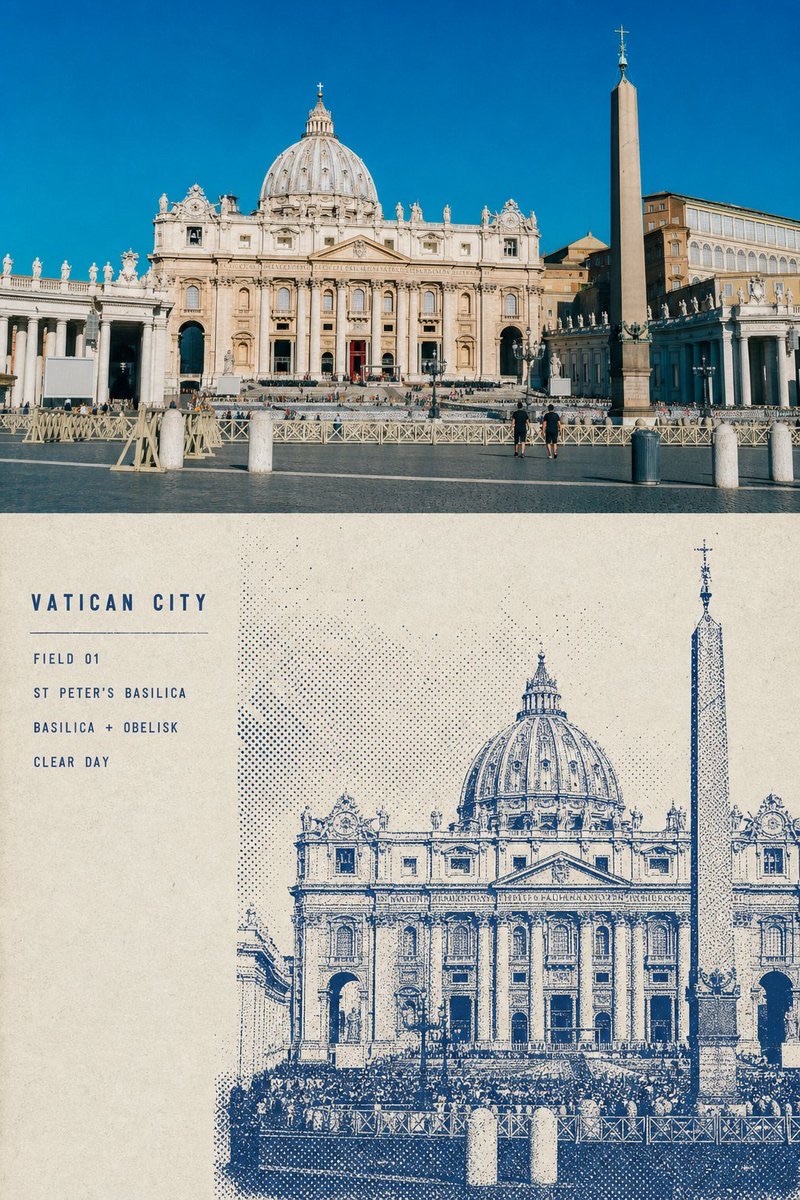
Blue Halftone City Archive
-
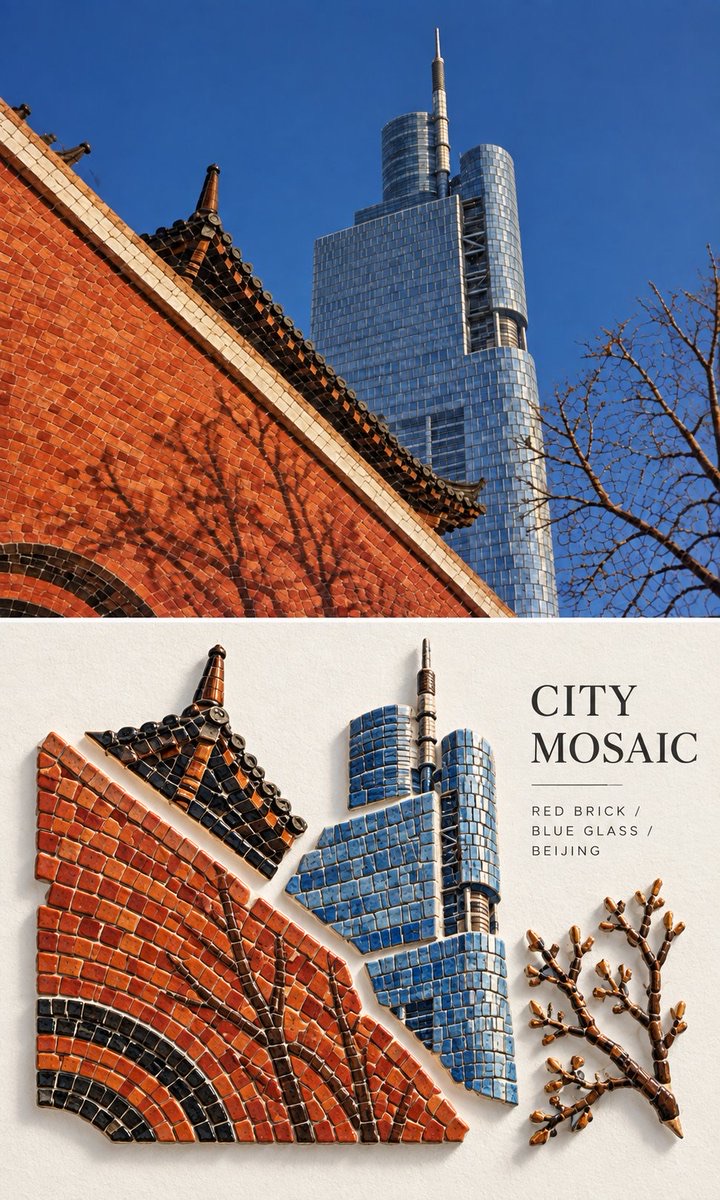
Travel Photo to Glazed Mosaic Relief Poster
-
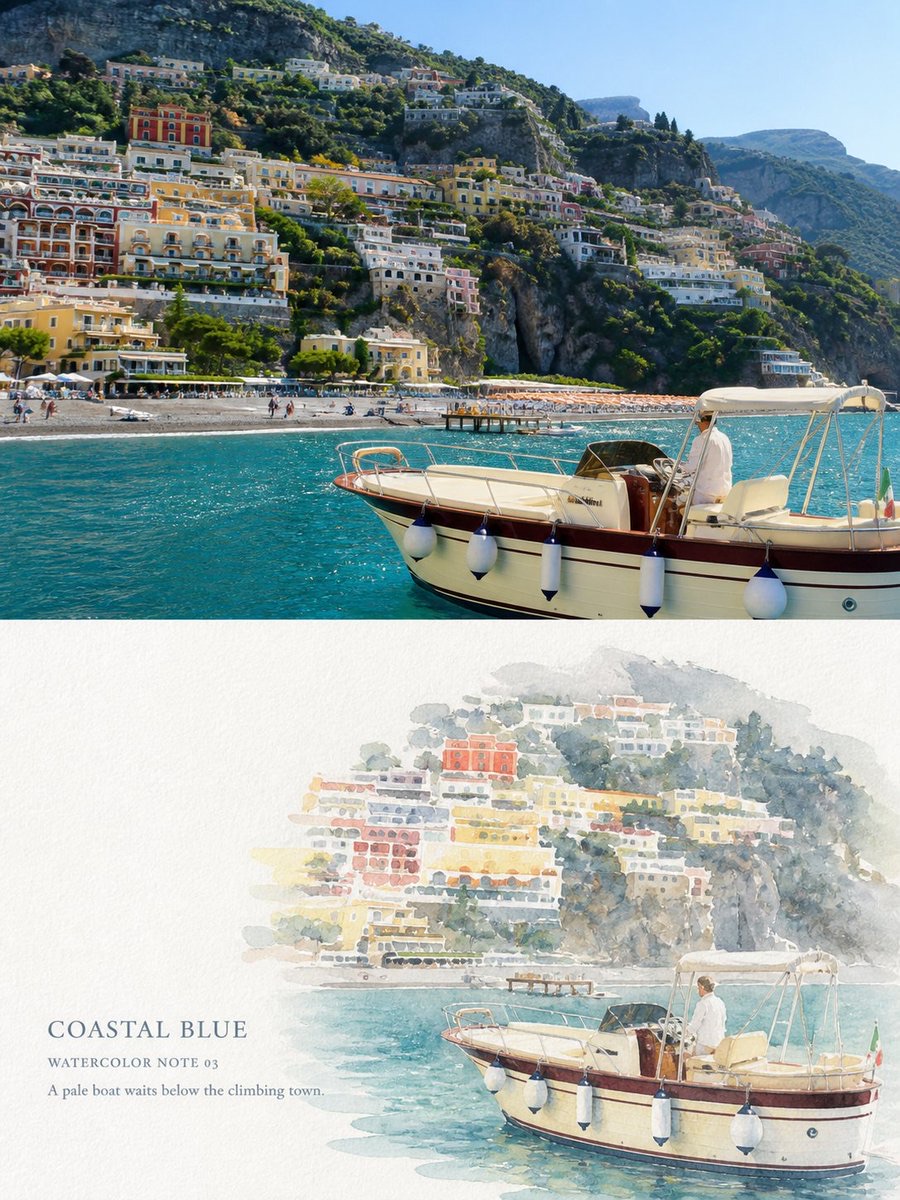
Clear White-Paper Travel Watercolor Editorial Poster
-
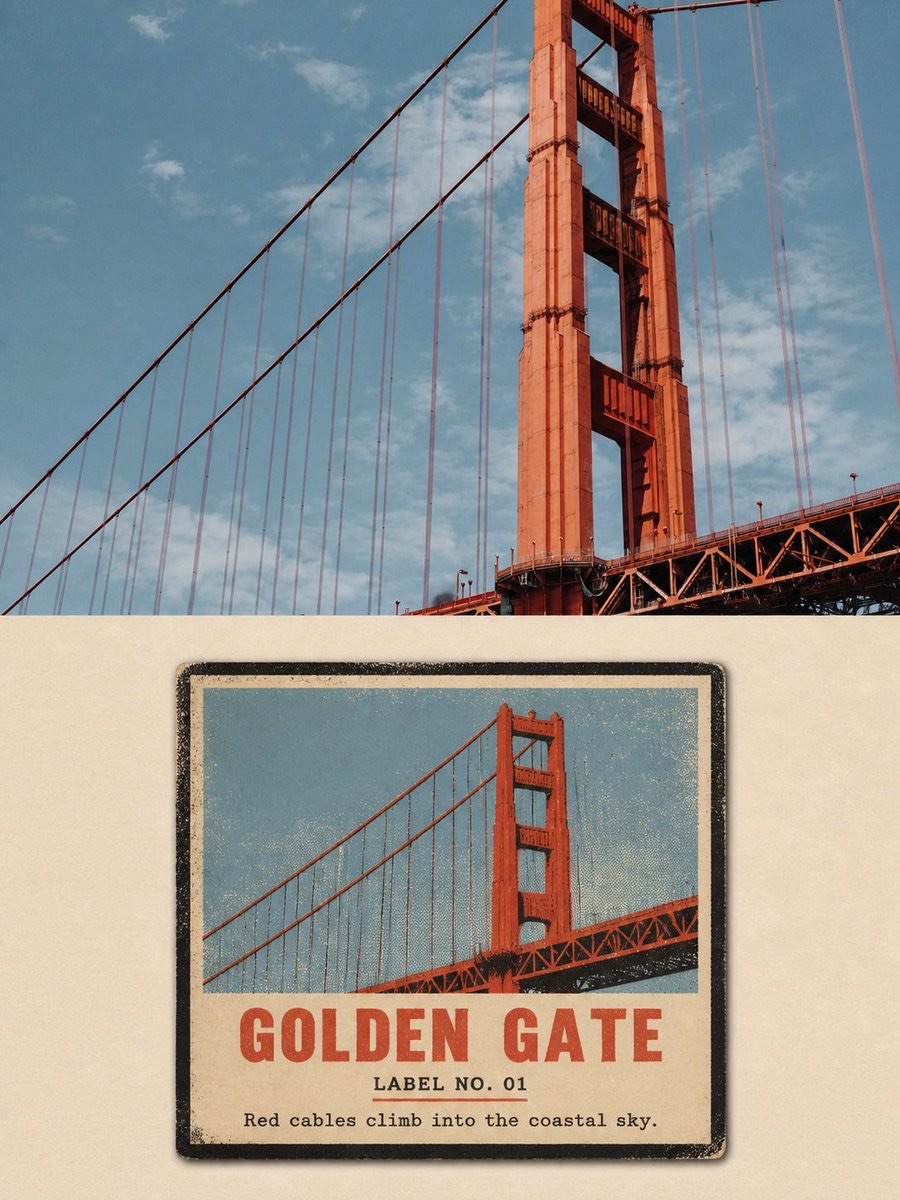
Vintage Matchbox Travel Label Poster
-
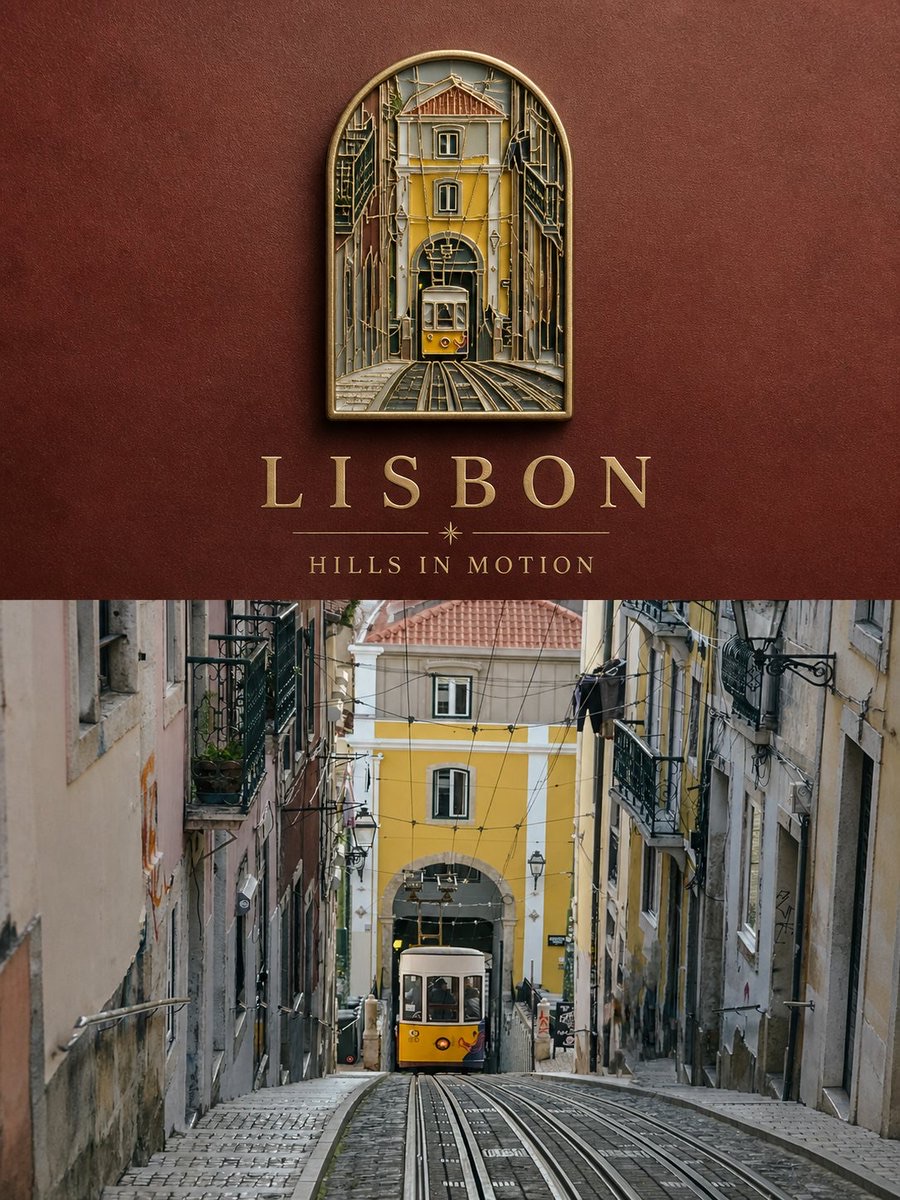
Travel Enamel Fridge Magnet Souvenir Poster
-
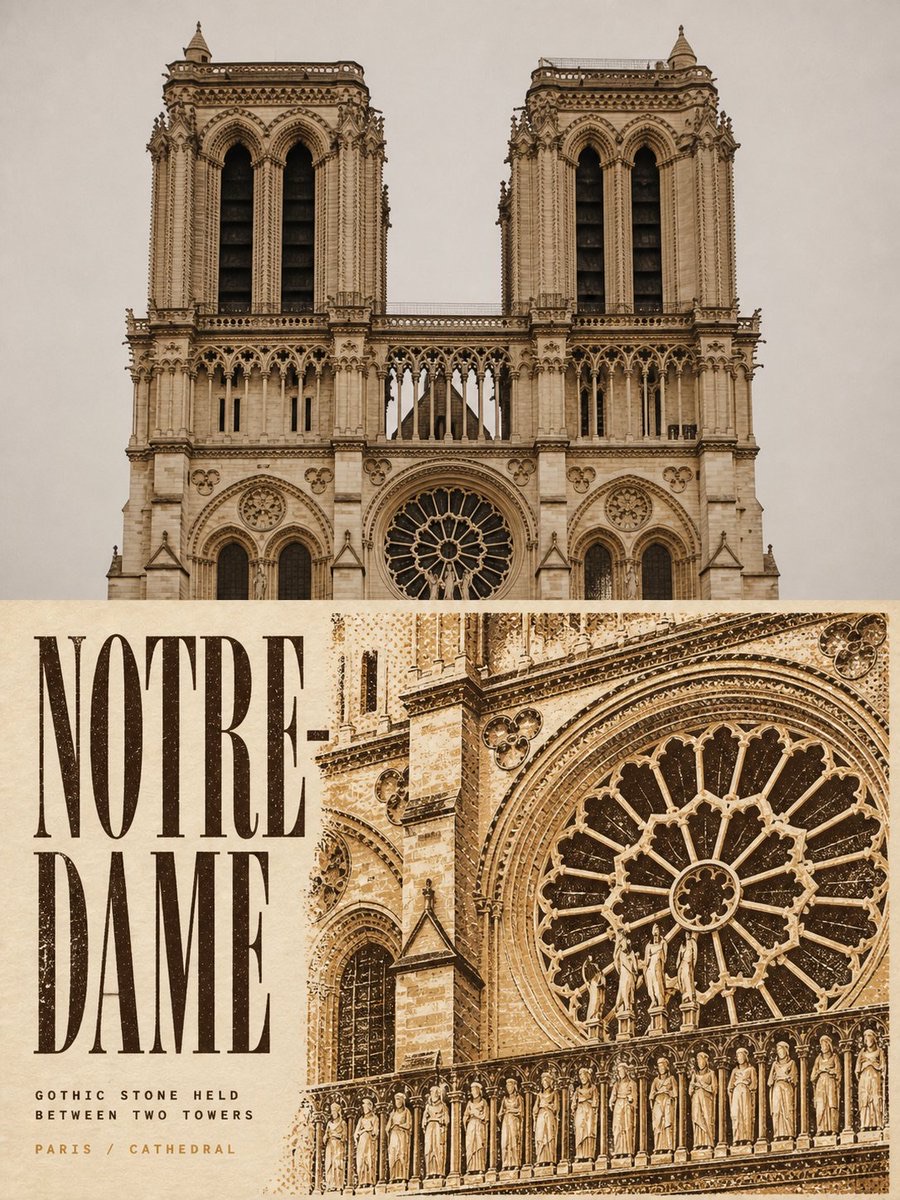
Two-Color Cultural Landmark Editorial Poster
-
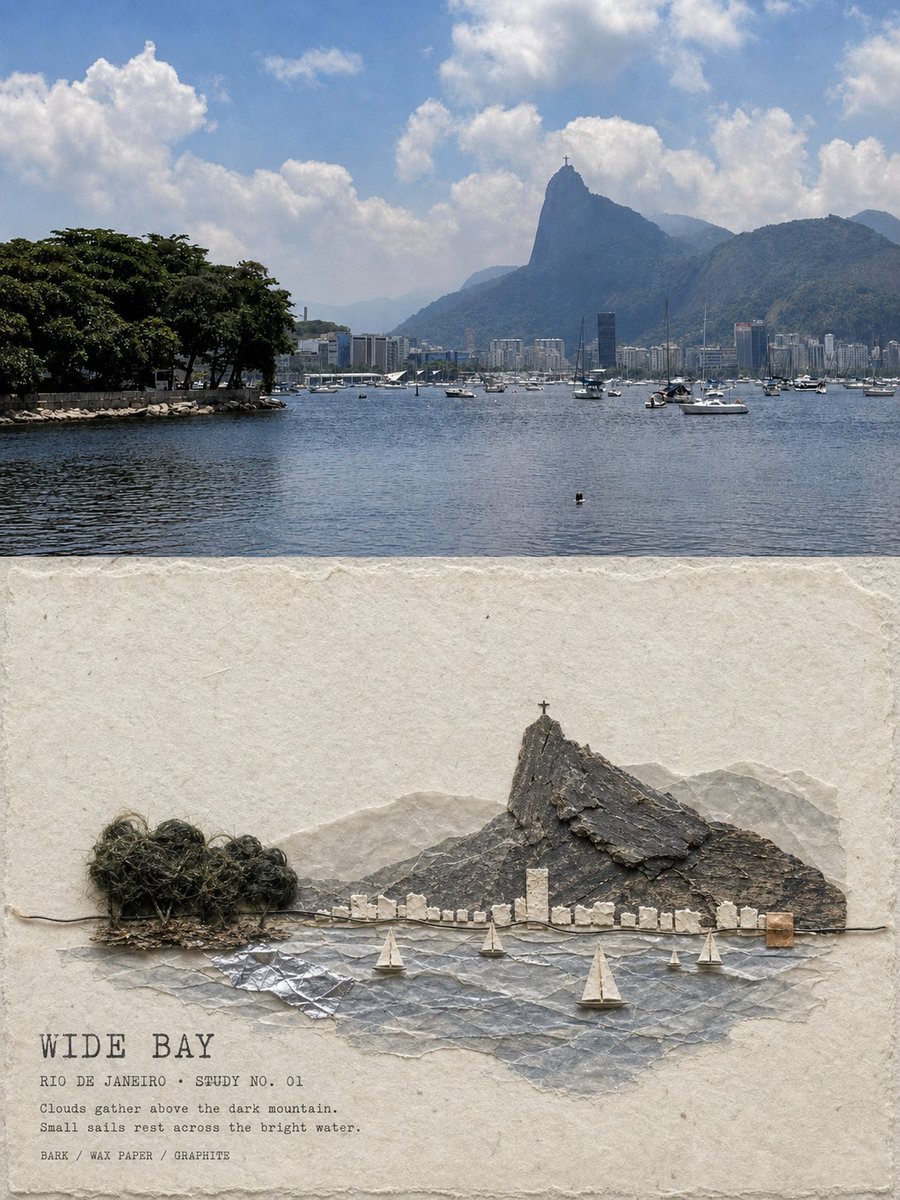
Material Assemblage Contrast Poster from a Travel Photo