Image
Pop-Up Book City Poster from a Travel Photo
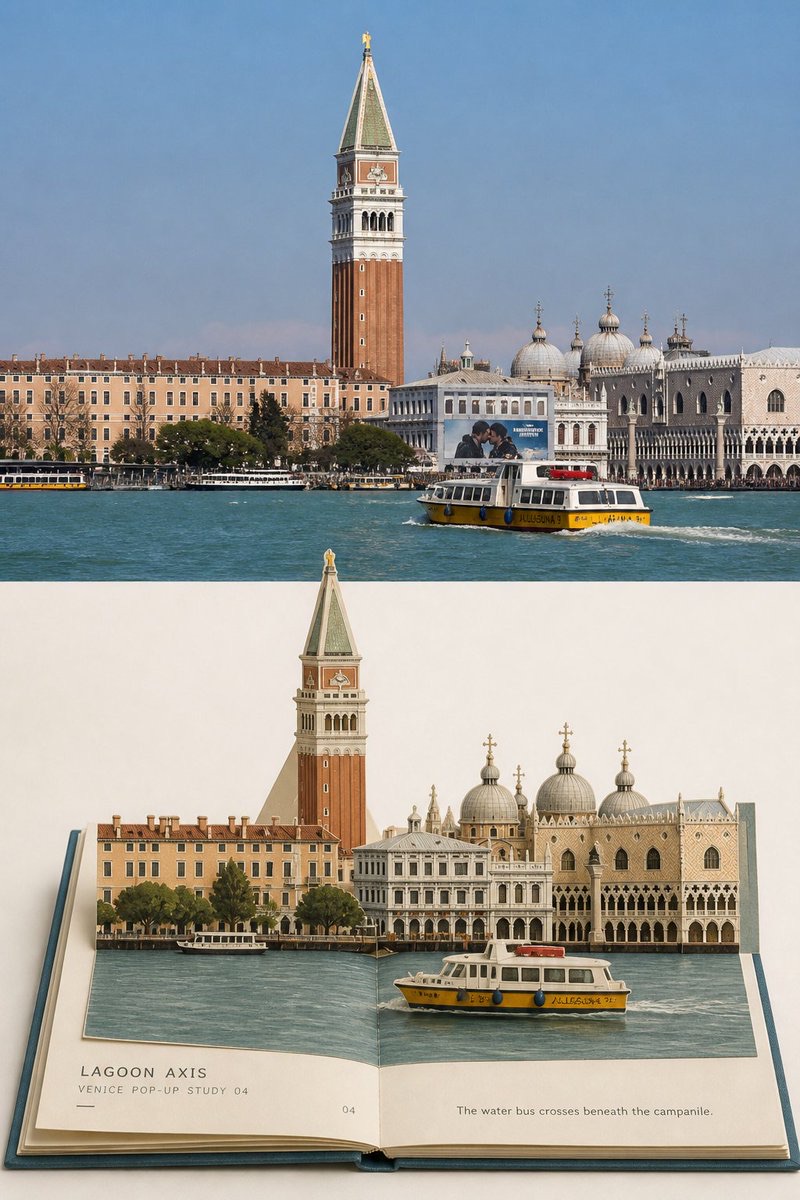
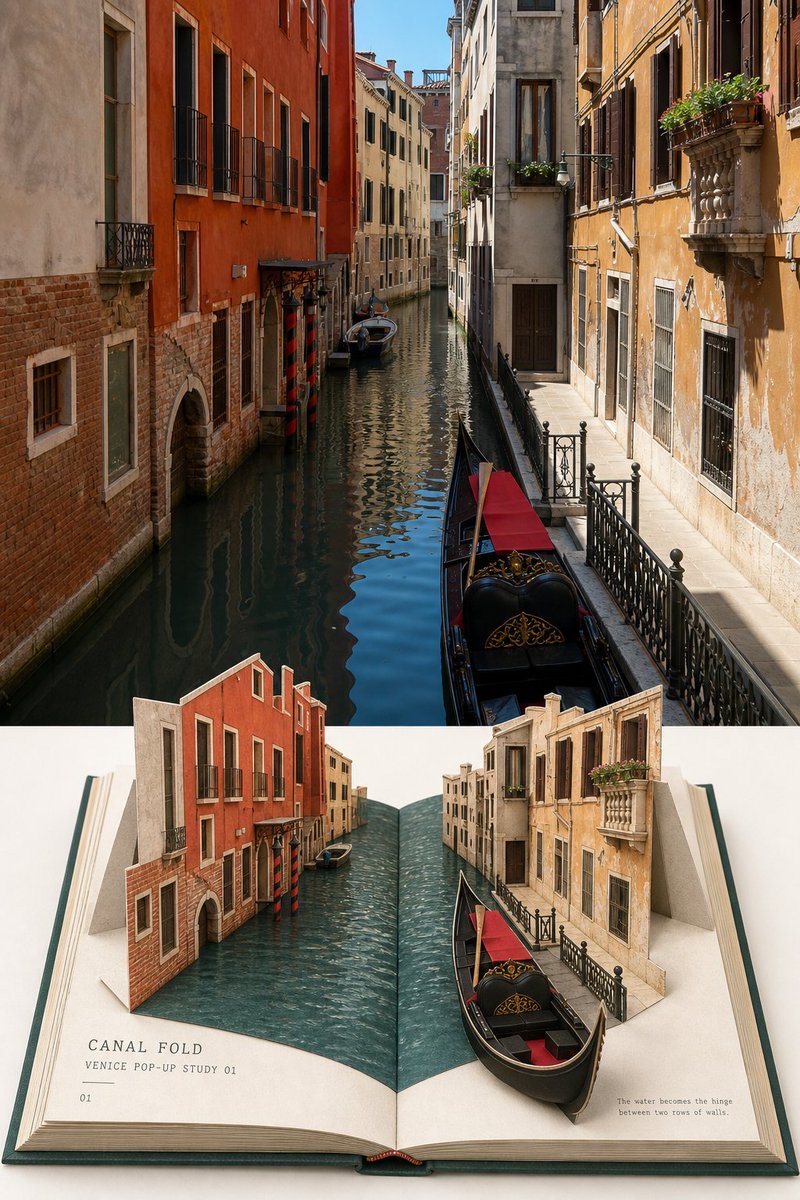
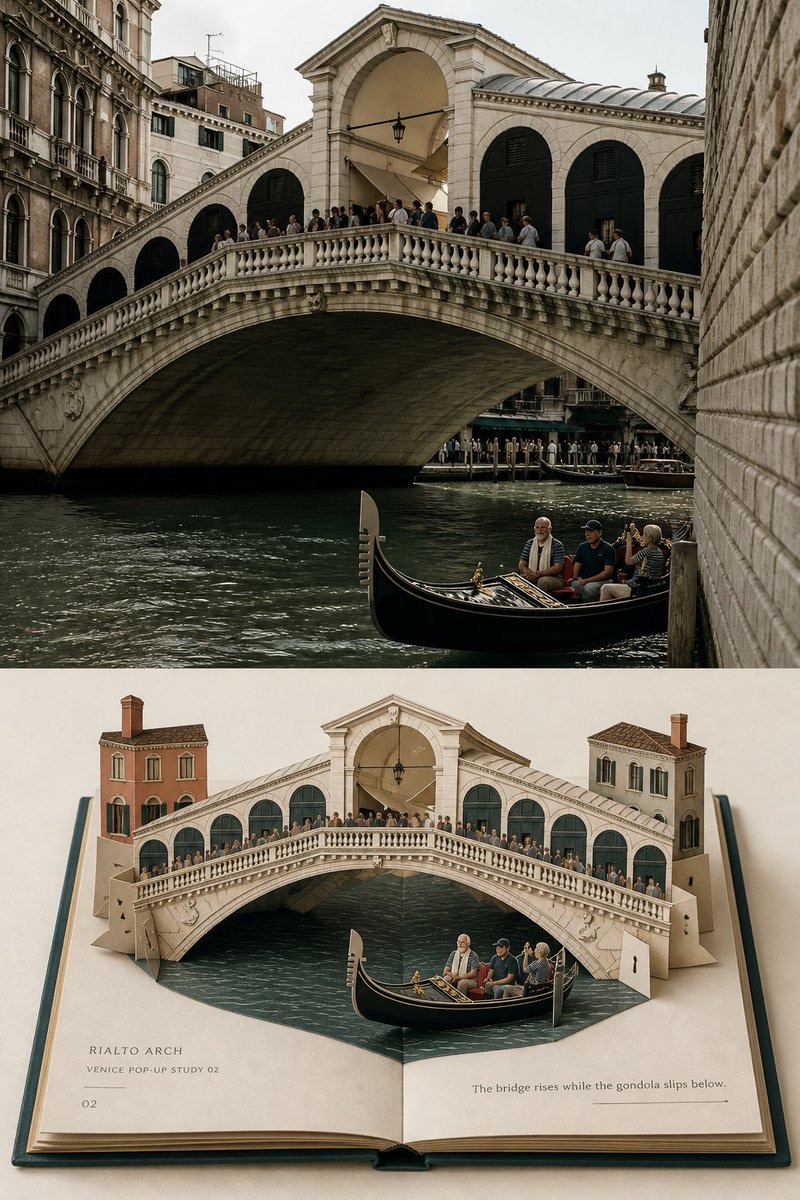
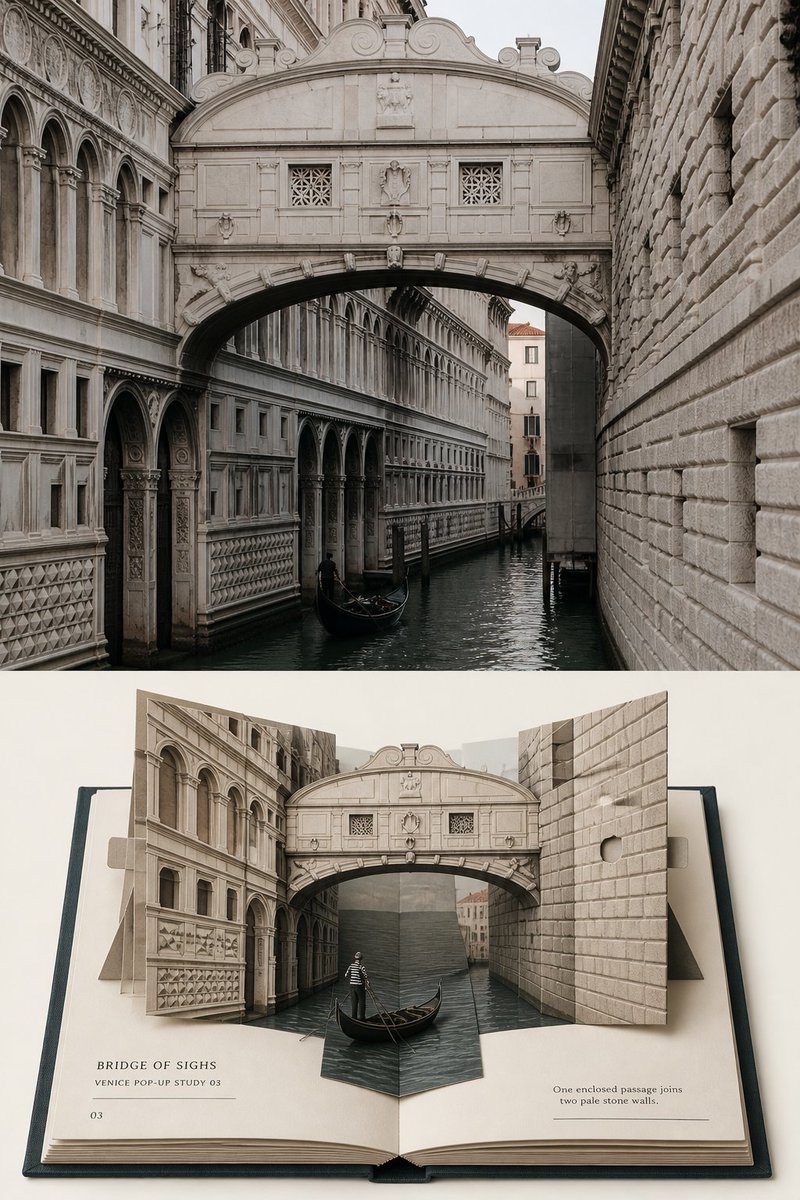
Transform each travel photo separately into an architectural travel poster that preserves the real original image above and presents a physical paper pop-up book below.
 蛋黄堡@Hamburgerai
Prompt
Turn each travel photo I upload into a separate
**TRAVEL POP-UP CITY BOOK|旅行城市立体书**
premium travel photo-to-art poster.

Output each photo separately; do not make a multi-photo collage.

Use an overall 3:4 vertical composition consisting of two areas: the “authentic original photo” and the “physical pop-up book interpretation.” By default, each occupies about 50%, separated by a straight, clear horizontal boundary. Do not feather or blend the boundary, and do not let any paper structure cross it.

## Top: Authentic original photo

Use the original photo faithfully in the top section.

Accurately preserve the photo’s:

- location identity and key buildings
- direction of the river, canal, road, or square
- outlines of bridges, towers, domes, and major buildings
- left-to-right order and foreground/background occlusion between buildings
- positions and directions of boats, vehicles, and a few people
- terrain elevations, viewing angle, and spatial depth
- authentic materials, natural light and shadow, and original color atmosphere

The top section must clearly read as real photography, not a newly generated realistic illustration.

Apply only subtle, restrained color grading reminiscent of a travel magazine, art publication, or photography exhibition, and add an extremely fine, almost imperceptible film grain.

To fit the vertical frame, you may naturally crop or extend the sky, water, road, and surrounding environment, but do not stretch, distort, mirror, move, replace, or redesign buildings, bridges, boats, or people.

## Bottom: Physical hardcover pop-up book

Use a clean, warm-white open field in the bottom section.

Place a complete, fully opened collectible hardcover pop-up book, lying flat, in the center of the field. The book should usually occupy 65%–85% of the width of the interpretation area, with continuous, clean negative space around it.

Use a slightly elevated view with a near-frontal feel, so the viewer can see all of the following at once:

- hardcover cover
- central spine and binding groove
- both pages
- stacked page edges
- cover turn-ins
- paper thickness
- the pop-up scene rising from the pages

Choose the cover color from the darkest, most stable colors in the original photo, such as deep blue, dark green, charcoal gray, ochre brown, or dark red.

Use warm ivory thick paper for the book block.

It must look like a real physical pop-up book that can be closed, not an ordinary paper-sculpture base, flat illustration, or architectural model.

## Distilling the city

Select 3–8 elements from the original photo that best establish the location’s identity, such as:

- key buildings or landmarks
- a river, canal, road, or square
- distinctive towers, roofs, or domes
- a bridge or archway
- buildings along the waterfront
- boats, vehicles, or a few people
- a group of buildings that establishes foreground and background

Maintain the original photo’s left-to-right order, building heights, traffic directions, foreground/background occlusion, and viewing angle.

Deliberately remove:

- dense window grids
- repetitive rooftops
- complex signs
- large crowds of tourists
- fine, busy vegetation
- tiny ripples on the water
- unrelated street fixtures
- architectural details that do not help identify the location

Do not add landmarks, clothing on people, cultural symbols, or a second city that are absent from the photo just to make the pop-up book look richer.

## Pop-up book layers

Organize the same location into paper structures with a clear foreground, middle ground, and background, based on the composition of the photo.

### Lower page layer

Let the river, canal, road, square, or ground extend along the central spine as a low paper layer connecting the left and right pages.

The water may be represented by one continuous sheet of printed gray-blue, blue-green, or dark green paper. It must cross the spine and follow the spatial direction in the original photo.

### Middle layer

Raise the main building groups, waterfront facades, bridge, trees, or blocks from the middle page layer.

The buildings do not need every window. Keep only:

- main outlines
- roof directions
- key openings
- facade proportions
- a few representative windows
- the colors most distinctive to the location

### Background layer

Place towers, bell towers, domes, castles, mountains, or the tallest landmark in the background layer, making it the tallest upright structure in the entire book.

Tall structures must have plausible fold lines, supports, or connecting tabs; they must not look like floating models.

### Foreground layer

Boats, vehicles, people, railings, or other elements that indicate scale may be separate foreground flaps rising from the page closest to the viewer.

They must not form a second visual center, but should help establish the scale and spatial depth of the location.

## Paper engineering

Clearly show realistic, credible paper construction:

- mountain folds
- valley folds
- scored fold lines
- die-cut edges
- paper slots
- insertion tabs
- connecting tongues
- hidden support pieces
- triangular rear braces
- layered cardstock
- central page hinge
- visible page thickness
- exposed paper fibers
- matte printed ink
- slight handmade registration errors

A bridge may span both pages, supported by the paper layers of buildings on both sides or by hidden supports.

A tower may rise using a central vertical fold, slots, and triangular rear support pieces.

Boats, vehicles, and people may be connected to the pages by separate small folded pieces.

There should be clear foreground and background layering and contact shadows between buildings, but shadows must be subtle, realistic, and consistent with the thickness of the paper.

Do not use huge floating structures that could not realistically fold or allow the book to close.

## Color

Extract colors entirely from the original photo, compressing and softening the complex palette into a limited palette of printed paper colors.

Prioritize preserving:

- identifying colors of buildings and landmarks
- roof colors
- water color
- vegetation colors
- neutral stone colors
- one accent color from a boat, door, window, or vehicle

Unify the rest with related colors such as warm ivory, gray-blue, earthy red, olive green, ochre brown, and stone gray.

All colors should look like matte printed paper, dyed cardstock, or slightly aged ink, not plastic, resin, or glossy 3D materials.

Avoid highly saturated toy-like colors, neon colors, and fixed palettes unrelated to the photo.

## Small type system

Add a small amount of English microtext related to the location’s structure along the edges of the blank pages.

Each page typically contains:

1. A structural title of 1–3 English words
2. One line with the location and series number
3. An observation of 6–14 English words

For example:

`CANAL FOLD`
`VENICE POP-UP STUDY 01`
`The water becomes the hinge between two rows of walls.`

Or:

`RIALTO ARCH`
`VENICE POP-UP STUDY 02`
`The bridge rises while the gondola slips below.`

The title should describe spatial structures that are actually present in the photo, for example:

- `CANAL FOLD`
- `BRIDGE LAYER`
- `LAGOON AXIS`
- `TOWER RISE`
- `WATERFRONT PAGE`
- `CITY HINGE`

When the location is reliably known, you may write:

`VENICE POP-UP STUDY 01`

When the location cannot be reliably confirmed, use:

`CITY POP-UP STUDY 01`

The observation should describe only buildings, bodies of water, boats, roads, directions, or spatial relationships actually present in the photo. Do not invent stories about people, dates, coordinates, or building names.

The text must feel like an original part of the pop-up book:

- small serif, condensed sans serif, or plain letterpress type
- graphite gray, dark blue-gray, or ink matching the cover
- a subtle raised print, debossing, letterpress, or paper-absorbed ink effect
- arranged along the page edge, spine, or axis of the lower water layer
- clearly readable, but not set as a large headline

Text must cover no more than 5% of the page area.

Add at most one page number, one short rule, or one tiny binding field.

Do not add an author’s name, account name, signature, logo, QR code, URL, invented brand, or gibberish.

## Overall mood

The final image should feel like a travel chapter in a collectible architectural paper-engineering book:

The authentic photo records how the city looked at the time.
The open book folds its canals, roads, bridges, and buildings anew into a space that can be preserved.

Premium, quiet, precise, gentle, and reminiscent of an architecture studio publication, an art book fair, an independent travel magazine, and a collectible paper artwork.

## Must avoid

Avoid:

missing original-photo comparison,
multiple-photo collage,
flat illustration printed on open pages,
ordinary paper collage,
single-layer paper silhouette,
origami terrain,
paper-clay model,
plastic 3D,
resin miniature,
realistic architectural model,
children’s toy book,
invented landmark,
mixed cities,
different location on each page,
incorrect building order,
missing central spine,
missing page edges,
missing fold lines,
impossible floating structure,
book filling the entire lower field,
no surrounding negative space,
desk props,
hands,
bookshelf,
room mockup,
large typography,
fake place names,
author name,
signature,
logo,
QR code,
watermark,
nonsense text.
请将我上传的每一张旅行照片分别制作成一张独立的
**TRAVEL POP-UP CITY BOOK|旅行城市立体书**
高级旅行照片转绘海报。
每张照片单独输出,禁止多图拼贴。
整体采用3:4竖版构图,由“真实原片”和“实体立体书转绘”两个区域组成。默认上下各占约50%,使用笔直、清楚的水平边界分隔,不羽化、不混合,也不让纸艺结构跨越分界线。
## 上方:真实原片
上方忠实使用原始照片。
准确保持照片中的:
- 地点身份和核心建筑
- 河流、运河、道路或广场方向
- 桥梁、塔楼、穹顶和主要建筑轮廓
- 建筑之间的左右次序与前后遮挡
- 船只、车辆和少量人物的位置与方向
- 地形高低、观察视角与空间纵深
- 真实材质、自然光影与原有色彩氛围
上方必须清楚表现为真实摄影作品,而不是重新生成的写实插画。
仅进行轻微而克制的旅行杂志、艺术出版物和摄影展览调色,并加入极薄、几乎不可察觉的胶片颗粒。
为适配竖版画幅,可以自然裁切或延展天空、水面、道路和周边环境,但不得拉伸、扭曲、镜像、移动、替换或重新设计建筑、桥梁、船只和人物。
## 下方:实体精装立体书
下方使用纯净的暖白色空场。
在空场中央放置一本完整打开、平放的收藏级精装立体书。立体书通常占转绘区域宽度的65%—85%,四周保留连续而干净的留白。
采用略带正面感的轻微俯视角,使观者能够同时看到:
- 精装封面
- 中央书脊与装订沟槽
- 左右两页
- 成叠页口
- 封面包边
- 纸张厚度
- 从书页中竖起的立体场景
封面颜色从原始照片最深、最稳定的颜色中提取,例如深蓝、墨绿、炭灰、赭褐或暗红。
书芯使用温暖象牙白厚纸。
必须让它看起来确实是一本可以被合上的实体立体书,而不是普通纸雕底座、平面插画或建筑模型。
## 城市提炼
从原始照片中选取最能够证明地点身份的3—8个元素,例如:
- 核心建筑或地标
- 河流、运河、道路或广场
- 具有辨识度的塔楼、屋顶或穹顶
- 桥梁或拱门
- 沿岸建筑
- 船只、车辆或少量人物
- 一组能够建立前后景关系的建筑层次
维持原照片中的左右次序、建筑高低、交通方向、前后遮挡和观察角度。
主动删除:
- 密集窗格
- 重复屋顶
- 复杂招牌
- 大量游客
- 细碎植被
- 水面小波纹
- 无关街道设施
- 无法帮助辨认地点的建筑细节
不得为了让立体书显得丰富而加入照片中不存在的地标、人物服饰、文化符号或第二座城市。
## 立体书分层
根据照片结构,将同一地点组织为具有明确前中后景的纸艺结构。
### 低层书页
河流、运河、道路、广场或地面沿中央书脊展开,成为连接左右页的低层纸面。
水面可以使用一块连续的灰蓝、蓝绿或深绿色印刷纸表现,必须跨越书脊并延续原照片中的空间方向。
### 中层结构
主要建筑群、沿岸立面、桥梁、树木或街区从中层书页竖起。
建筑不必复制所有窗户,只保留:
- 主要轮廓
- 屋顶方向
- 关键开口
- 立面比例
- 少量代表性窗格
- 地点最具有识别度的颜色
### 后层结构
塔楼、钟楼、穹顶、城堡、山体或最高地标放在后层,并成为整本立体书最高的竖向结构。
高层结构必须有合理折线、支撑片或连接舌片,不得像悬空模型。
### 前层结构
船只、车辆、人物、栏杆或其他尺度参照物可以成为独立前景折片,从靠近观者的书页中竖起。
它们不能形成第二视觉中心,但需要帮助建立地点尺度与空间纵深。
## 纸艺机关
清楚表现真实、可信的纸艺构造:
- mountain folds
- valley folds
- scored fold lines
- die-cut edges
- paper slots
- insertion tabs
- connecting tongues
- hidden support pieces
- triangular rear braces
- layered cardstock
- central page hinge
- visible page thickness
- exposed paper fibers
- matte printed ink
- slight handmade registration errors
桥梁可以跨越左右两页,并由两侧建筑纸层或隐藏支撑片承托。
塔楼可以使用中央竖折、插槽和后方三角支撑片竖起。
船只、车辆和人物可以使用独立的小型折片与页片连接。
建筑之间应存在明确的前后层级和接触阴影,但阴影必须轻微、真实并符合纸张厚度。
不得使用无法真实折叠或无法合书的巨大悬空结构。
## 色彩
完全从原始照片中提取颜色,并将复杂色彩压缩、柔化为有限的印刷纸色盘。
优先保留:
- 建筑与地标的识别色
- 屋顶颜色
- 水体颜色
- 植被颜色
- 石材中性色
- 一处船只、门窗或交通工具的强调色
其余使用暖象牙白、灰蓝、土红、橄榄绿、赭褐、石材灰等邻近色统一。
所有颜色应呈现为哑光印刷纸、染色卡纸或轻微旧化油墨,而不是塑料、树脂或光滑3D材质。
避免高饱和儿童玩具色、霓虹色和与照片无关的固定色盘。
## 小字系统
在空白书页边缘加入少量与地点结构有关的英文小字。
每张通常包含:
1. 一个1—3个英文单词的结构标题
2. 一行地点与系列编号
3. 一句6—14个英文单词的观察短句
例如:
`CANAL FOLD`
`VENICE POP-UP STUDY 01`
`The water becomes the hinge between two rows of walls.`
或:
`RIALTO ARCH`
`VENICE POP-UP STUDY 02`
`The bridge rises while the gondola slips below.`
标题应该描述照片中真实存在的空间结构,例如:
- `CANAL FOLD`
- `BRIDGE LAYER`
- `LAGOON AXIS`
- `TOWER RISE`
- `WATERFRONT PAGE`
- `CITY HINGE`
地点可靠时,可以写:
`VENICE POP-UP STUDY 01`
地点无法可靠确认时,使用:
`CITY POP-UP STUDY 01`
观察短句只描述照片中真实存在的建筑、水体、船只、道路、方向或空间关系,不虚构人物故事、日期、坐标和建筑名称。
文字必须像立体书原生的一部分:
- 小号衬线、窄体无衬线或朴素铅字
- 石墨灰、深蓝灰或封面同色油墨
- 轻微凸印、凹压、活版印刷或纸张吸墨效果
- 沿页边、书脊或低层水面轴线排布
- 清楚可读,但不做大型标题
文字总面积不超过书页面积的5%。
最多加入一个页码、一条短横线或一个极小装订字段。
不得加入作者名、账号、签名、Logo、二维码、网址、虚构品牌和乱码。
## 整体气质
最终画面像一本收藏级建筑纸艺书中的旅行章节:
真实照片记录城市当时的样子,
打开的书把运河、道路、桥梁和建筑重新折叠成可以被保存的空间。
高级、安静、精密、温柔,具有建筑事务所出版物、艺术书展、独立旅行杂志与纸艺收藏品的气质。
## 强制避免
避免:
missing original-photo comparison,
multiple-photo collage,
flat illustration printed on open pages,
ordinary paper collage,
single-layer paper silhouette,
origami terrain,
paper-clay model,
plastic 3D,
resin miniature,
realistic architectural model,
children’s toy book,
invented landmark,
mixed cities,
different location on each page,
incorrect building order,
missing central spine,
missing page edges,
missing fold lines,
impossible floating structure,
book filling the entire lower field,
no surrounding negative space,
desk props,
hands,
bookshelf,
room mockup,
large typography,
fake place names,
author name,
signature,
logo,
QR code,
watermark,
nonsense text.
How to use
Usage suggestion: Upload travel photos one at a time. Photos should include recognizable buildings, roads, bodies of water, or urban spaces to make it easier to distill the foreground, middle ground, background, and pop-up book structure.
Details
More from 蛋黄堡
-
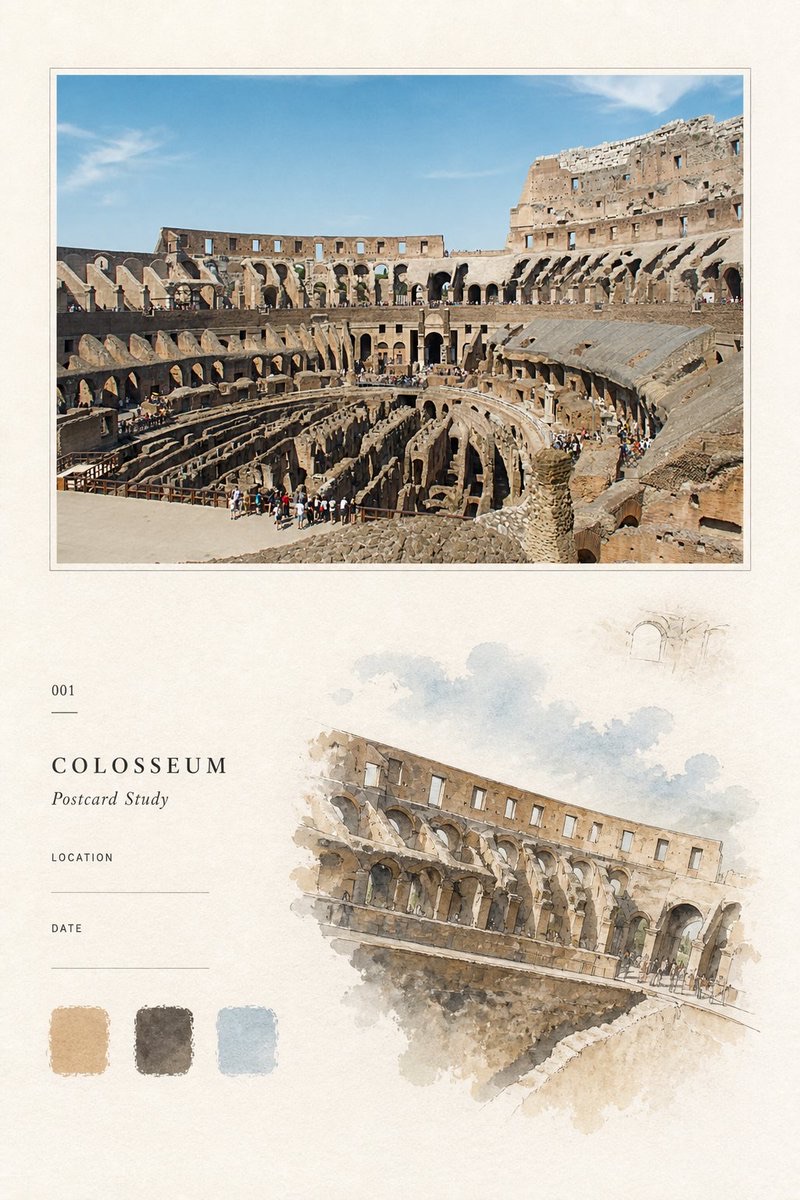
Travel Palette Watercolor Study Poster
-
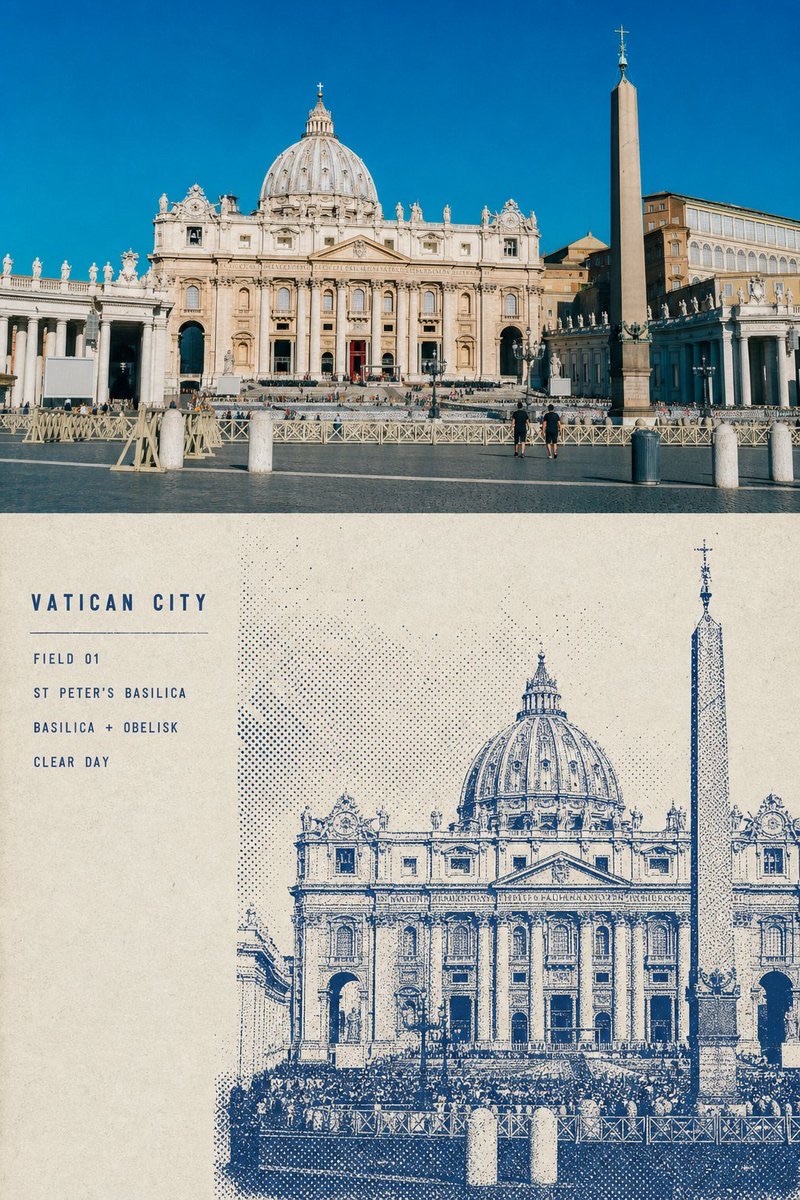
Blue Halftone City Archive
-
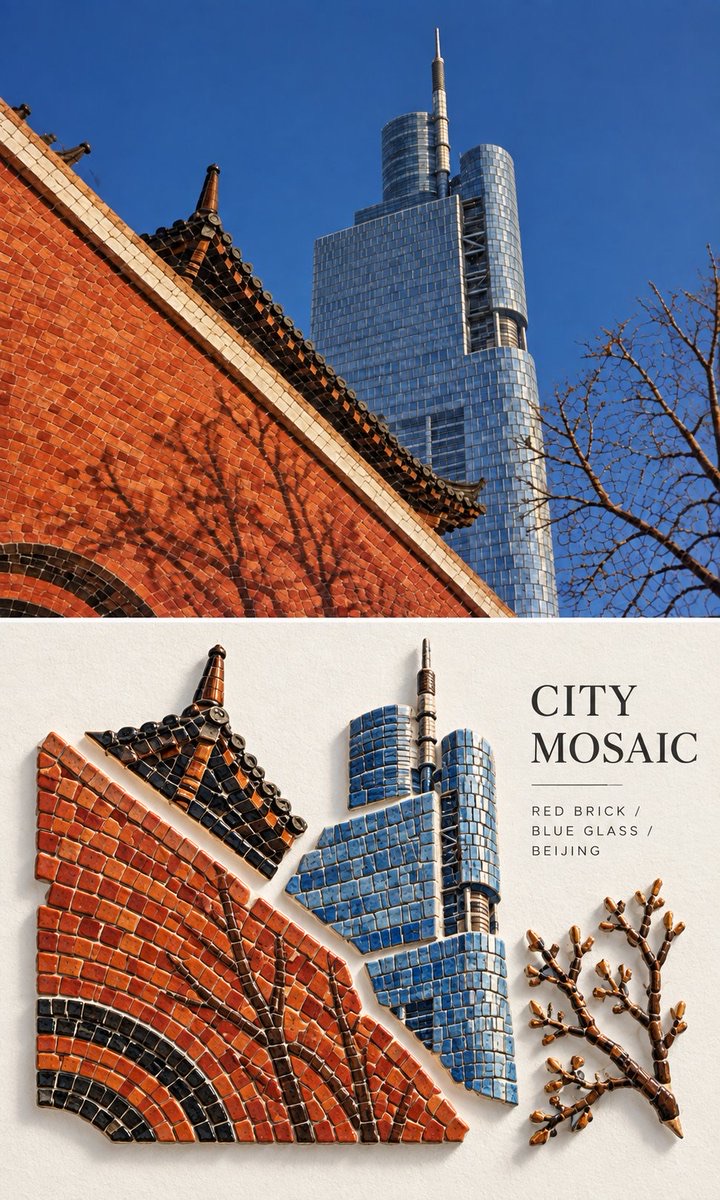
Travel Photo to Glazed Mosaic Relief Poster
-
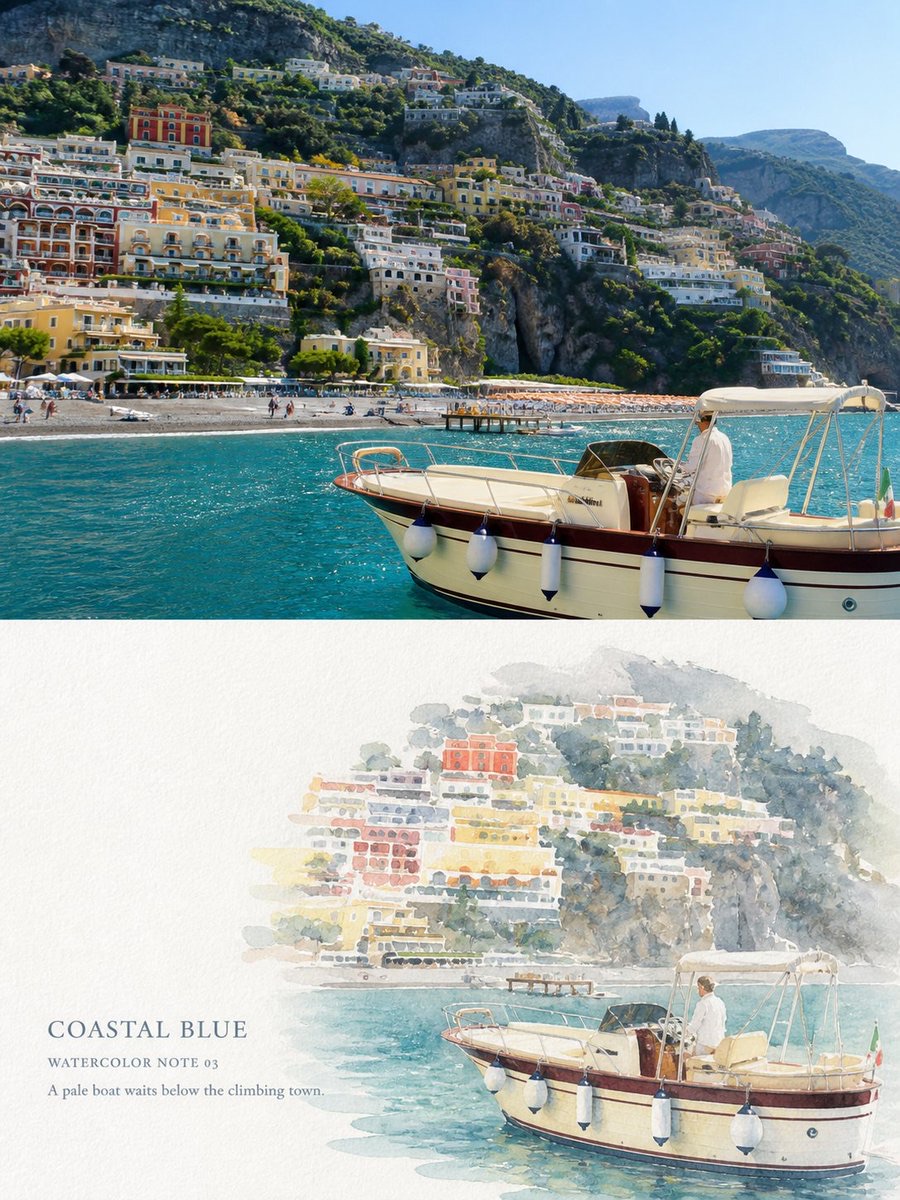
Clear White-Paper Travel Watercolor Editorial Poster
-
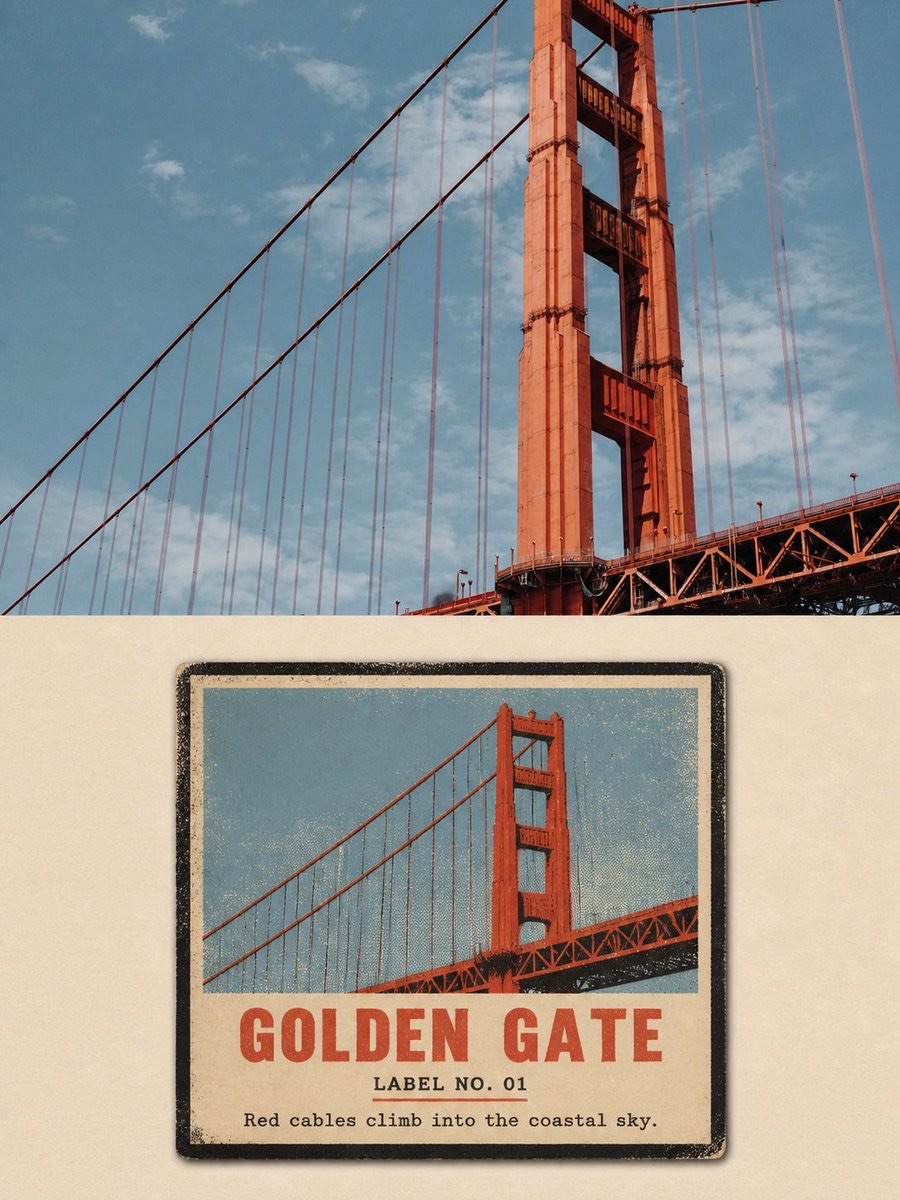
Vintage Matchbox Travel Label Poster
-
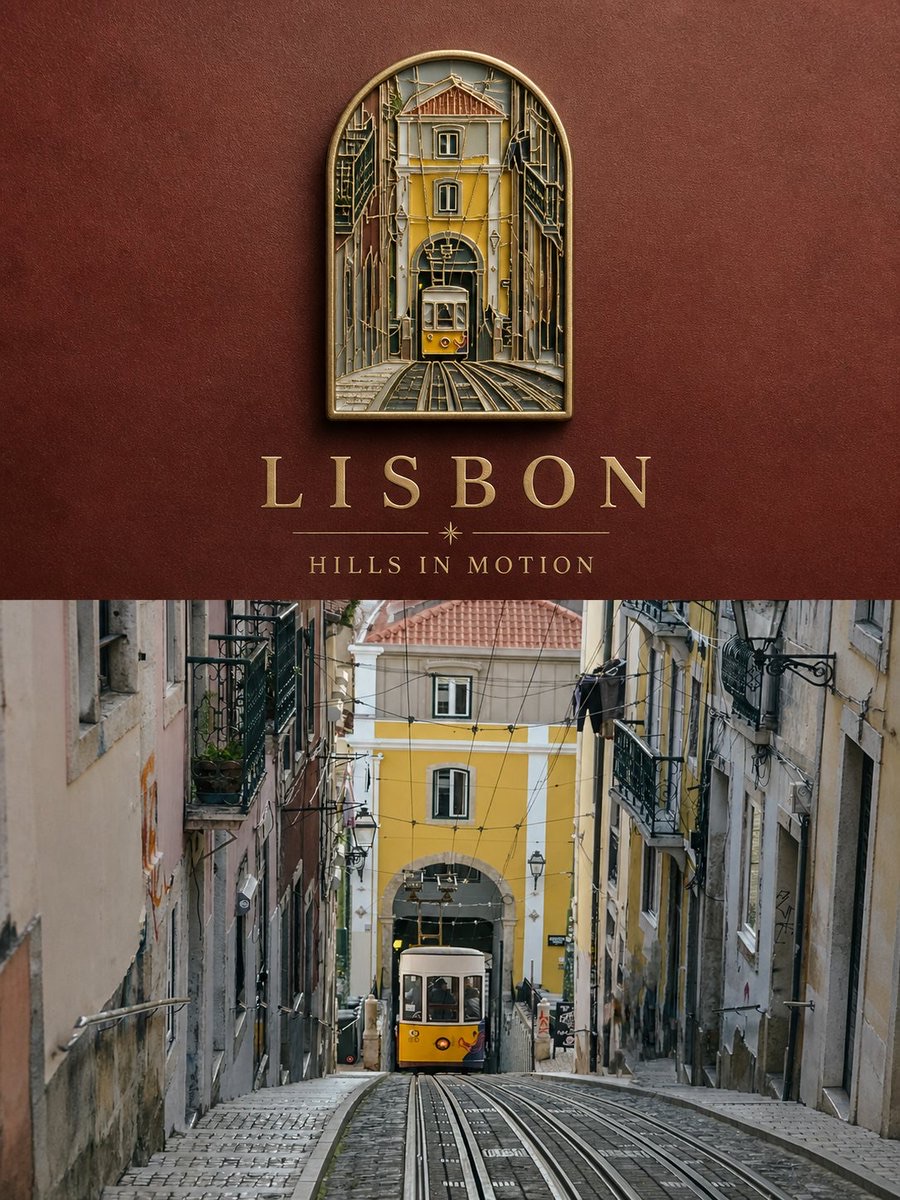
Travel Enamel Fridge Magnet Souvenir Poster
-
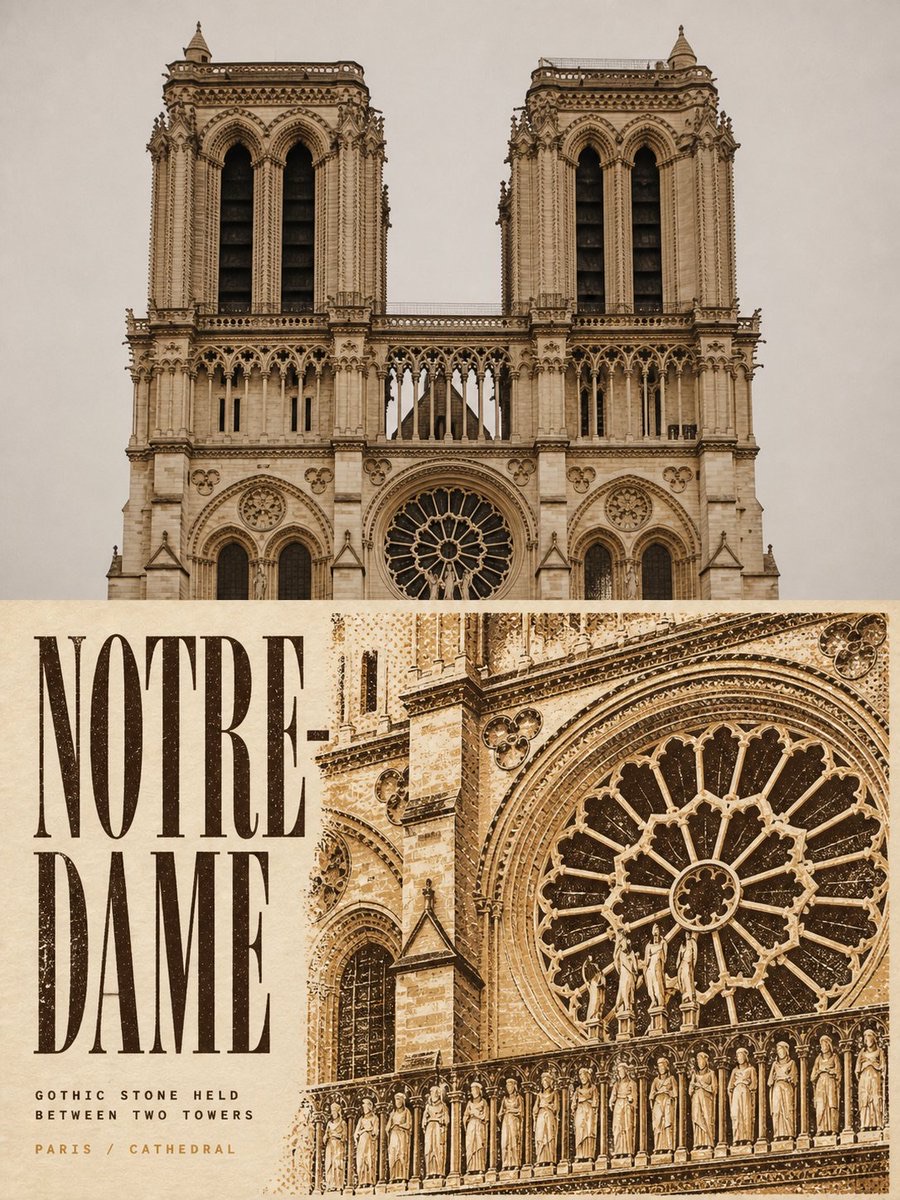
Two-Color Cultural Landmark Editorial Poster
-
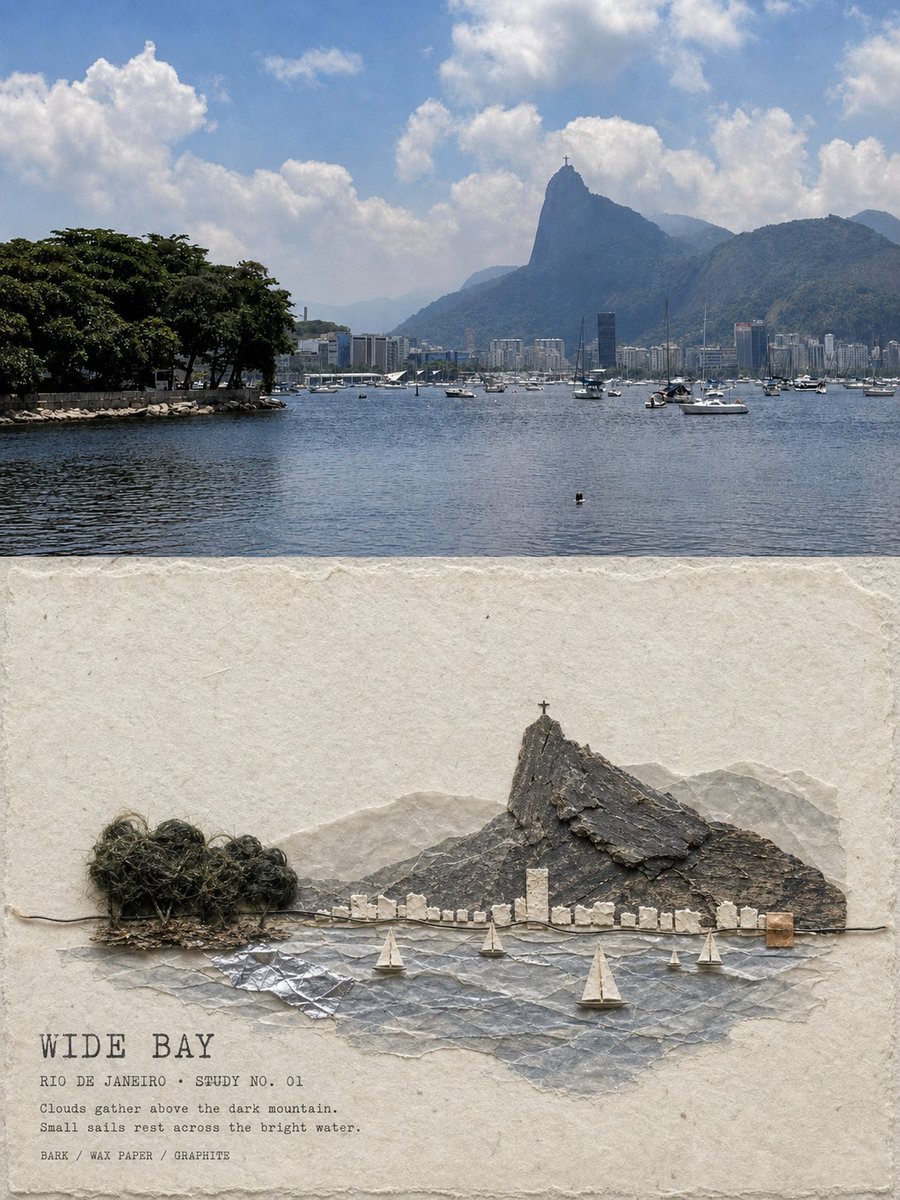
Material Assemblage Contrast Poster from a Travel Photo